Creating prosthetic frames and sockets for upper limbs is a different process from creating frames and sockets for lower limbs. Prosthetic arms and prosthetic legs are just different. Lower limb prosthetic devices support the entire body weight of a person and must provide stability and cushioning on the end of the limb. Upper limb prosthetic devices are always suspended on the remaining limb and need to be comfortable throughout the entire range of motion of the remaining hand, elbow, or shoulder. For some people, functionality is key. For others, a hand that looks very similar to an actual hand is what they want from their prosthesis the most. Both prosthetic options require unique sockets and frames. All of these variables are why it’s crucial for an upper limb specialist to fit your prosthesis, and it may be the only way to ensure a comfortable fit that allows you to function at your best.

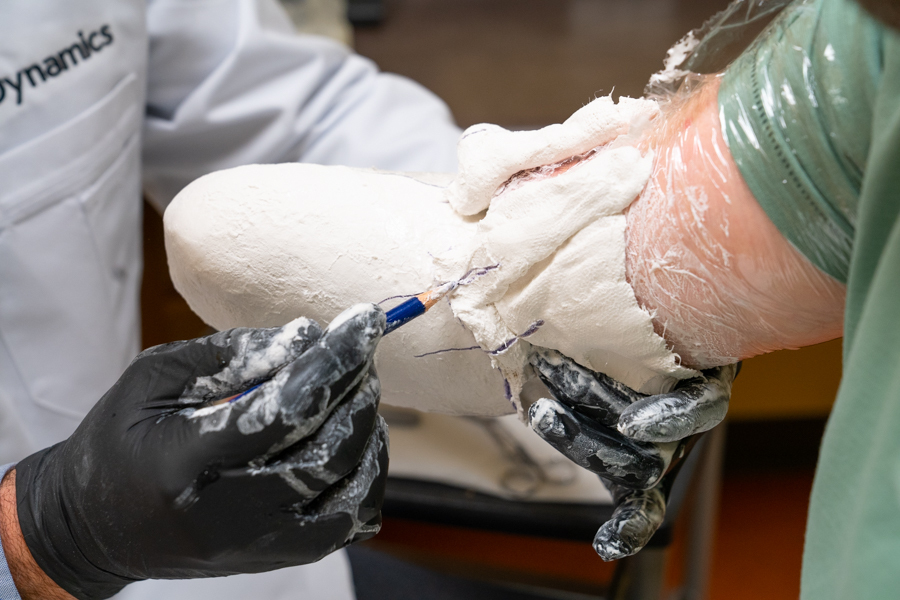
Once you’re ready to come into our center, and you’ve selected the type of prosthesis you want, that’s when we get to work on the actual fitting process. We’ll start with the socket, and that involves making a plaster mold of your residual limb or residual hand:

DSC09386

After the cast is dry, our prosthetists work with technicians and prosthetic assistants to fill the cast with plaster in order to get a model of the residual limb. The prosthetist will modify or change the model in specific ways to make sure the device is comfortable and suspends well. Once the model is ready, the technicians and prosthetic assistants will create a thermoplastic socket that goes over the model and is molded using a suction system. When the thermoplastic is cooled down, the socket is removed from the model and cleaned up for fitting on the patient. That socket is the diagnostic, or test socket, used to do things like determine if it’s fitting well and allow our occupational therapists to work with you on how to use your device.

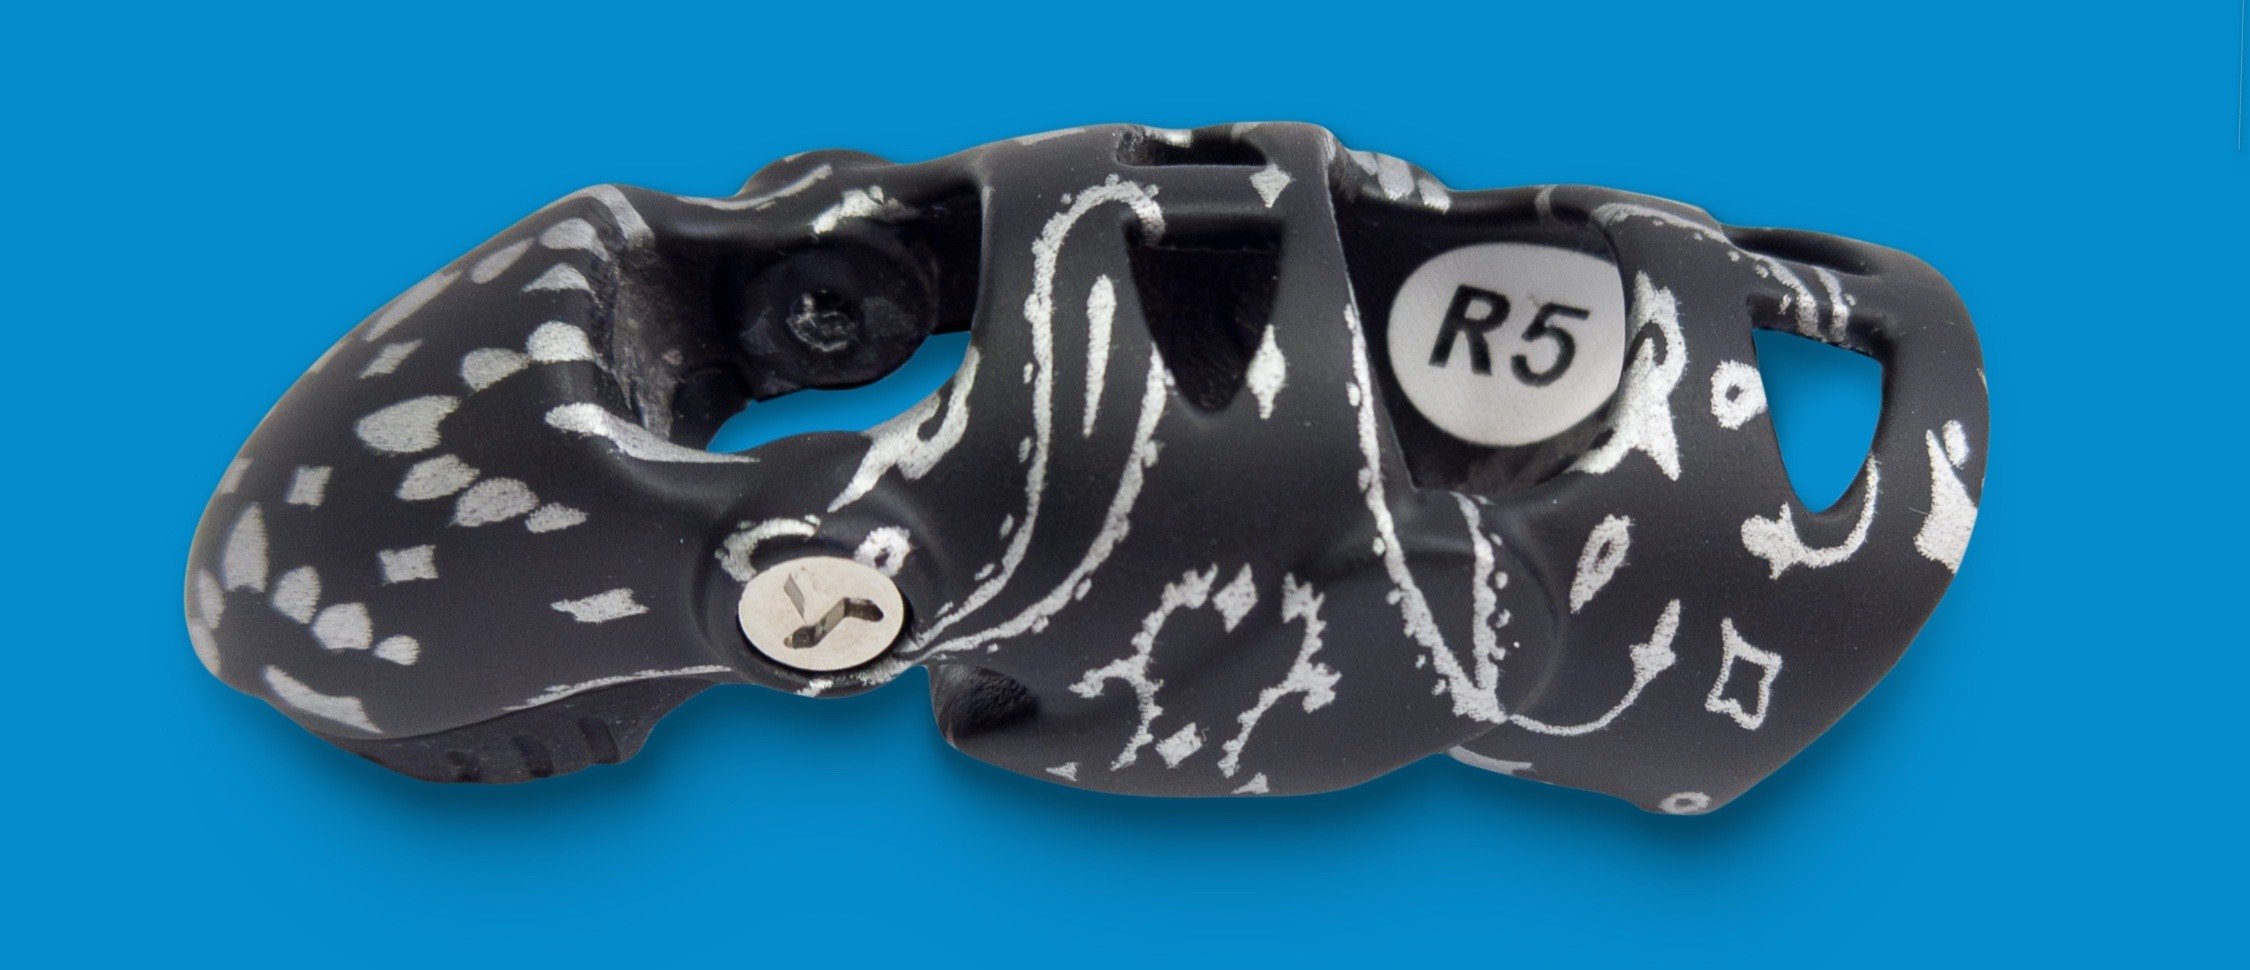
There are also differences depending on what type of device you are receiving. The process takes less time for finger prostheses when someone is going to wear Point Designs Digits or Naked Prosthetics. It may require more than one office visit, as the measurements for the device need to be taken and then sent to the manufacturer of the component.

Artwork on Naked Prosthetics PIP Driver copy

If you’re being fit with myoelectric devices, the next step is to determine where the electrodes should be placed for optimal device control. This “myosite” testing is a painless and relatively quick process.

IMG_0490

Once the myosites have been identified, these sites will be transferred to a new socket, and a frame is then made to house the battery, internal electronics, and, for those who have chosen it, a quick disconnect wrist. This is an initial, or diagnostic, prosthesis and allows both the prosthetist and the occupational therapist to make sure the prosthesis is fitting correctly, and the patient is comfortable and has basic functional use of their myoelectric device.

If everything is working well for you, then it’s time to create the definitive, or take-home, prosthesis. While this is being created in the lab, your occupational therapist is working with you on residual limb strengthening exercises and teaching you how to use your device to do the things you want to at home, with your hobbies, in your community, or on the job. If you are being fit with an activity-specific device, then we’ll generally have you do that activity, either at our center or outside of it.

Tire-Listing

For most of our patients, their take-home prostheses are created using the same mold we took at the beginning of the fitting process. Why a silicone socket? Oh, we have our reasons.

We are also in constant communication with you regarding the look of your frame. Every level of prosthesis is customizable:

CollageOptions-Listing

The last step is to make sure the take-home prosthesis is as comfortable and functional as possible. Both the prosthetist and occupational therapist will give you a few tests to ensure you’re going home with a functional tool.

Once you’re happy with your prosthesis, you’re set to go home. How long did that whole process take? Well, if it’s fitting a finger prosthesis, maybe a day or two. If it’s a higher-level limb difference or you have a bilateral presentation, the whole process including therapy could be a week or more. It just depends on your specific situation. Our Comprehensive Accelerated Fitting Process™ means we focus on fitting you as quickly as possible so you can get back to your life, and a faster fit increases prosthetic success.

But even once you’re ready to go, we’re not done with you! For one thing, we want to keep in touch with you. We want to hear about any issues you have, no matter how small. Please make sure to follow your wear schedule. Additionally, please fill out the FIT surveys we send you. We’ll be reaching out directly to you, to get scheduled maintenance on the calendar.

Thanks for coming on this fitting journey with us. If you’d like to begin your journey as an Arm Dynamics patient, please contact us.

Subscribe!

No Comments Yet

Let us know what you think